How to open the Xbox 360 Slim
To get into the Xbox 360 you’ll need pretty much the same tools you needed to get into the old one. A flat head screwdriver helps, preferably one with a long, thin stem (a tiny flathead is also useful in getting the heatsink clamp off if you want to go that far). You’ll need a torx driver with T8 bit. A phillips head screwdriver if you want to remove the fan on the heatsink and a selection of thin/flat tools to help you pry bits of the case apart.
The bad news is that the new Xbox 360 is not really any simpler to disassemble than the old one. I’ve included photos of the process here but for larger versions and even more than what I’ve included inline, check out the gallery below. As always, proceed at your own risk - we’re not responsible for any damange to your console that happens as a result of following these instructions. Also know that proceeding with this will surely void your warranty from Microsoft.
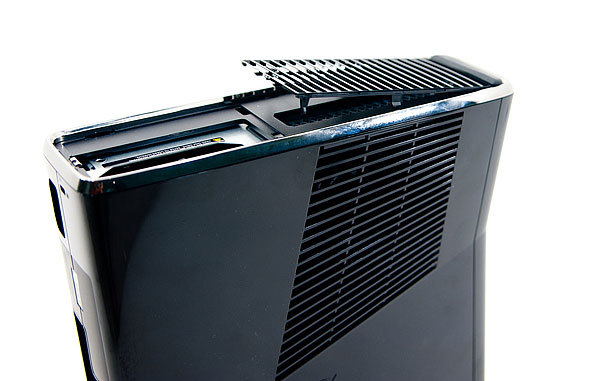
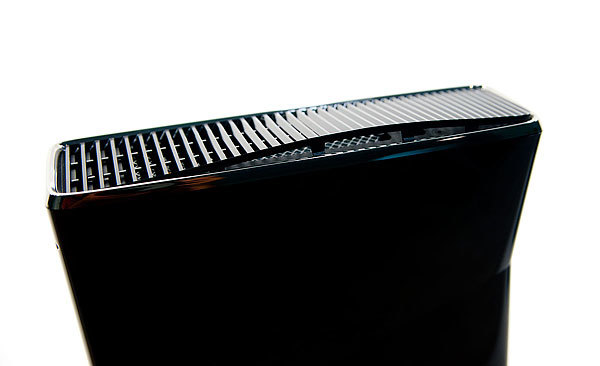
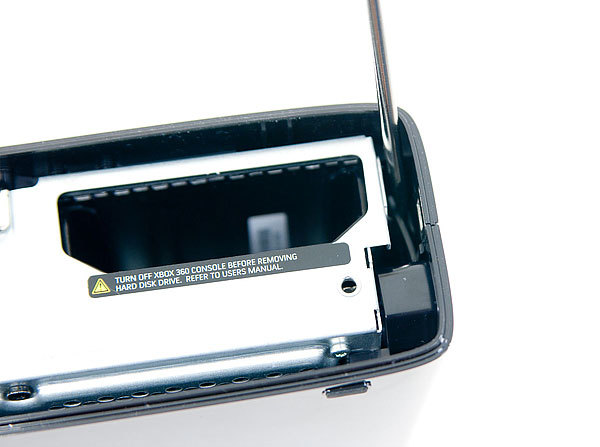
To start you’ll want to first remove the hard drive. Next we have two plastic grates on the left and right of the system that pop right off. They are attached using clips along their edges so work one part out with your flat head driver and just pull the rest off.

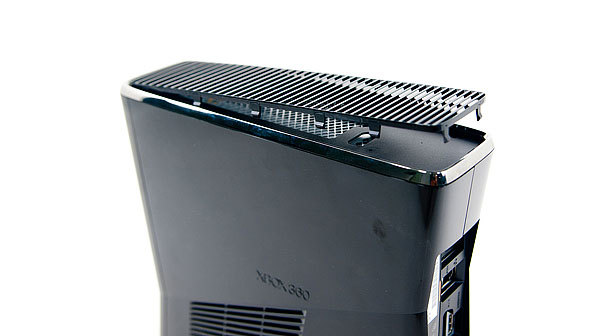
The side without the hard drive is a bit more difficult. I crammed a plastic tool between the chrome casing and the plastic grate to pull it off and then wedged my fingers in there to get the entire piece off.
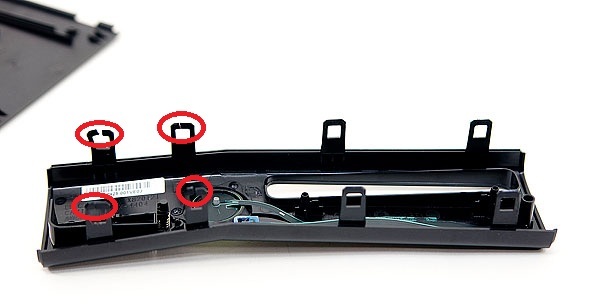
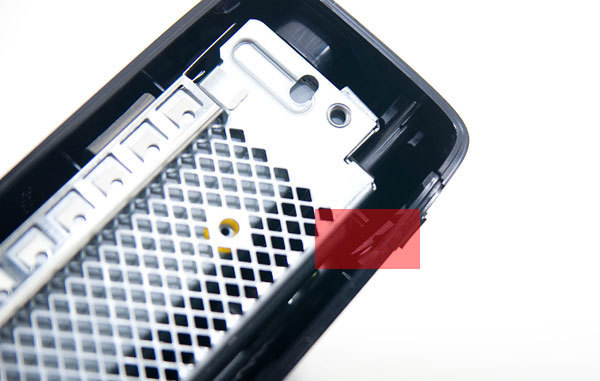
This next part is the first of two hard parts, and I’m not sure there’s a way around this. Removing the two plastic grates will reveal two more black plastic covers. You can wedge your flathead between the plastic cover and the rest of the system and pry it off.
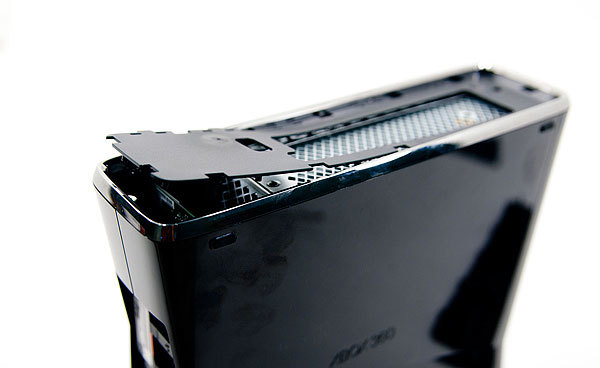
The cover is attached to the system by several plastic stands that fit through little holes behind them. The stands are wider at their outer most edge than they are at the base, too wide to just fit through the hole. In fact, removing these plastic covers will break part of the stands off. It looks like Microsoft did this to make opening the new 360 something that could only be properly reversed at Microsoft itself. Thankfully doing so doesn’t fundamentally ruin the system.
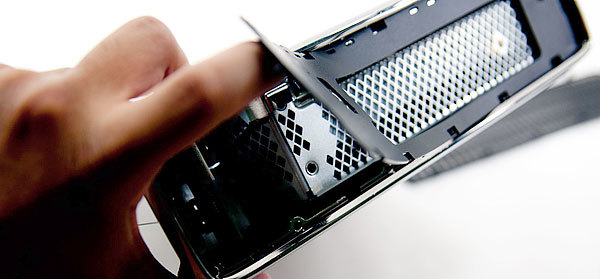
Stick your screwdriver in one of the cutouts and pry away. You’ll see a lot of flexing and then hear a pop, once you hear one move to the next portion of the plastic cover. Do this around the edge until the entire cover is removed. Repeat for the other side of the 360.
Now you’ve got line of sight into the system itself. Great.
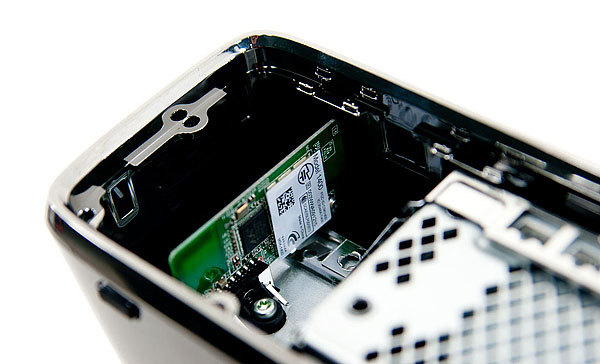
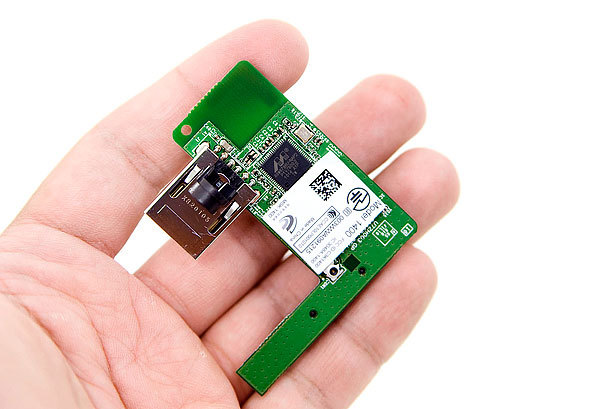
At this point you can also remove the 802.11n card which is held in place by a single screw. Remove the T8 screw and the card slides right out. It is just plugged into an internal USB port.
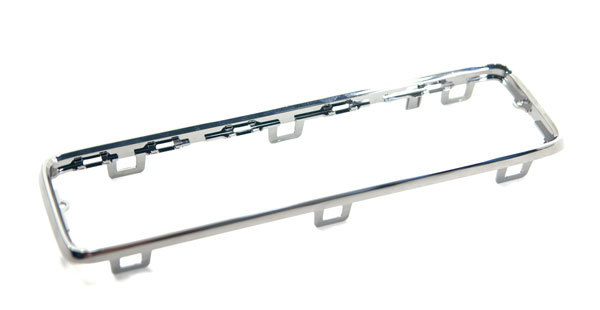
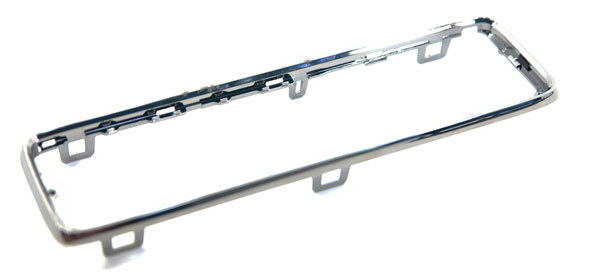
Now we have to remove the two chrome surrounds on either side of the system. These are attached via clips that can be tempted loose using that trusty flat head screwdriver. Wedge it between the clip and the rest of the chassis and push away from the chassis:
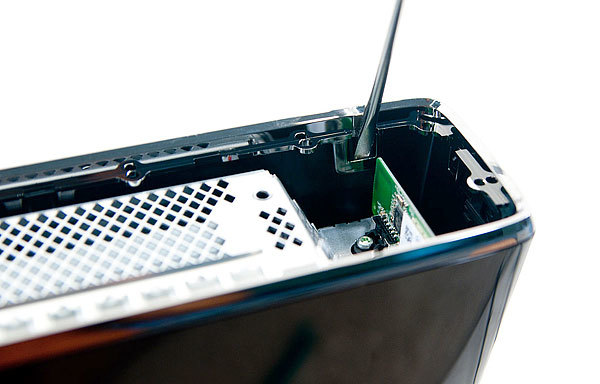
Some clips will give way easily, others will take some coercion. Some of the clips are only accessible via a very tiny, very long flat head. Start with the clips you know you can get off and then try to pry the tough ones later.
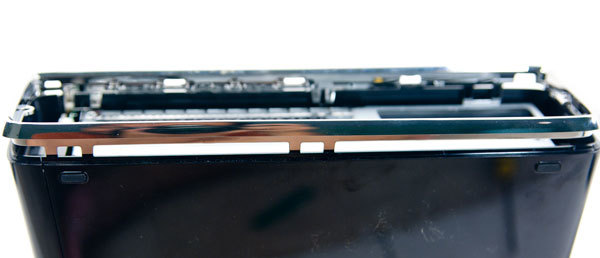
You’ve got 6 on one side and 5 on the other chrome lip, the shots below should help you.
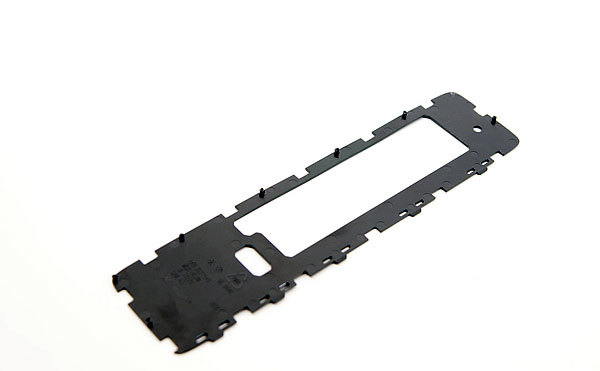
With the two chrome surrounds removed we’re now at the second most difficult part of dissecting the new Xbox 360. Remember these little things:
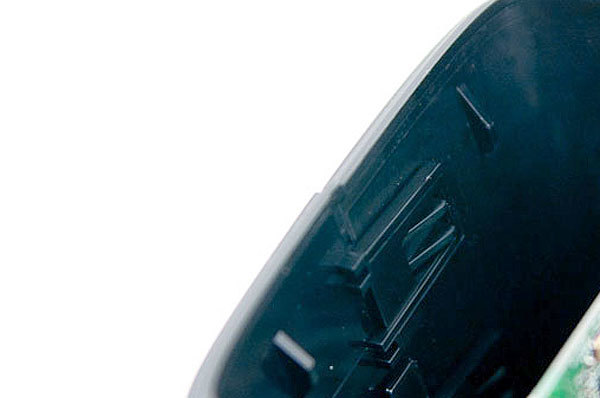
Yep, they’re back, and even more of a pain.
On the old 360 you at least had a removable face plate and some insight into what was going on at the rear of the system. This time around you can only look in at the sides which makes this next part quite frustrating.
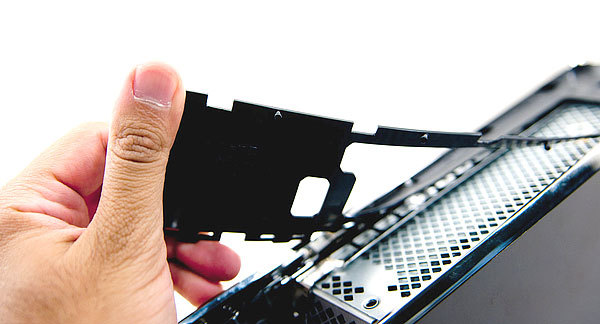
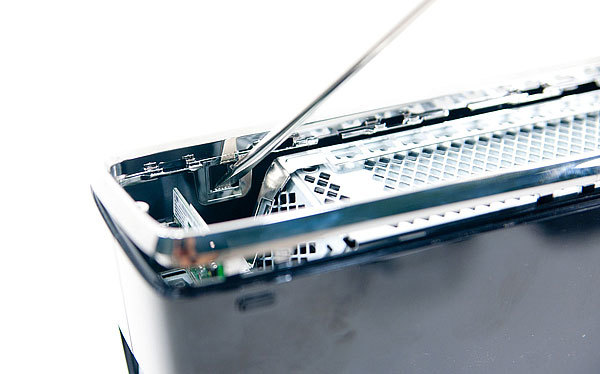
Thankfully I know exactly how many clips you have to break free: three on the back and eight on the front.
I started on the back, got the clips loose then moved to the front. You need to access clips at both the left and ride side of the Xbox 360. A flashlight can be very handy here. Remember you’ve got clips at both the top and the bottom of the Xbox to work free at the front. Unfortunately during the process I managed to snap a few of these clips, not to the point where the system couldn’t be put back together thankfully.
The only advice I can give you here is to be patient, persistent and have a good flathead screwdriver at your side. Once you’ve pried these clips free the front will separate from the rest of the system. If you’re trying to do it without breaking any clips, good luck, if you don’t mind then be prepared to put some force into the process.

Be careful when removing the front of the system. There’s a ribbon cable that connects the 360‘s power button to the rest of the system, you have to remove it before you can proceed. In my original teardown the ribbon cable just ripped right out of its connector without any problems so if this happens to you, you should be ok.
The ribbon connector attaches here
With the front removed, separate the clips on the back and the top cover of the 360’s should lift right off exposing what we have below:
From this point on you’ll need your T8 bit. Start by removing the two screws that hold the front panel PCB in place. With the screws removed the PCB pulls straight out:

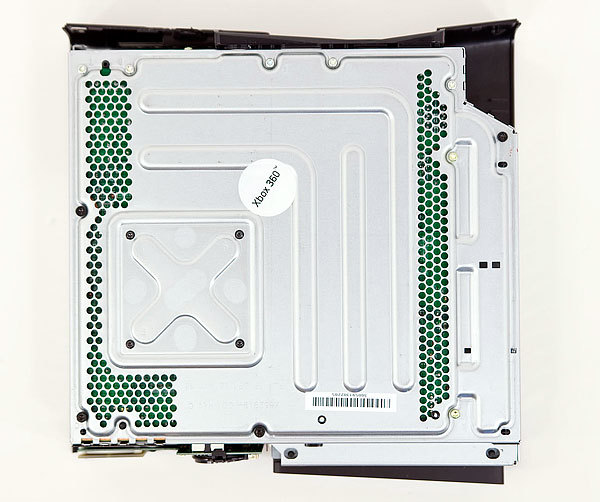
Now look at the side of the Xbox with the white sticker on it, there are 12 x T8 screws that you need to remove here to take the whole thing apart. If you just want to get the cover off I believe you only need to remove the 5 black ones.
The 12th screw is actually hidden under the white Xbox 360 sticker. It looks like Microsoft has done a lot to figure out whether or not you’ve opened this thing. Modders don’t make Microsoft happy. RRoD didn’t make me happy. Modders ftw.
The DVD Drive & Motherboard
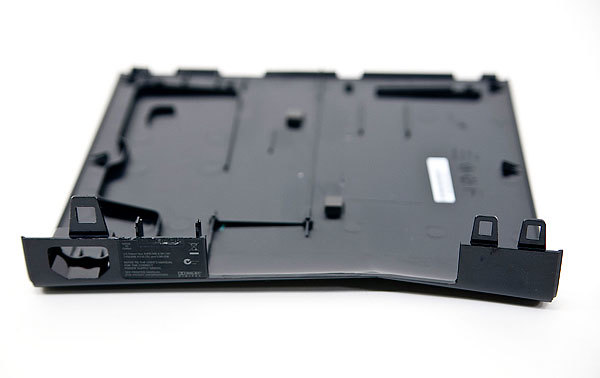
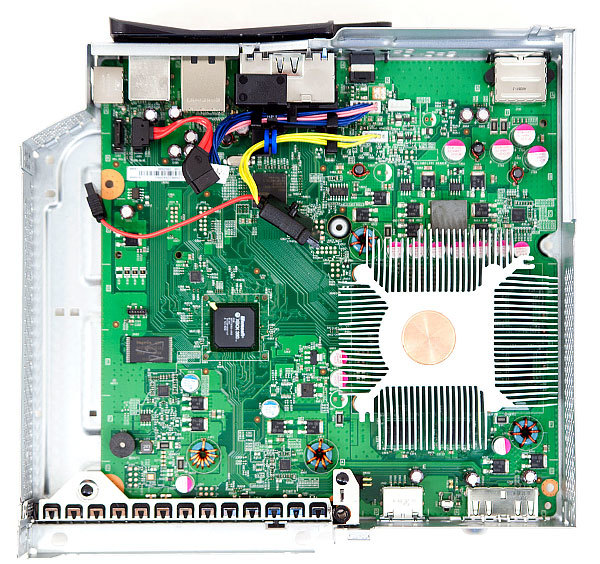
I pulled all 12 screws out but left the four heatsink screws in place since I wanted access to the motherboard. With all four removed I could pull off the bottom cover leaving me with this:

The DVD drive lifts right out and you can disconnect the power and SATA cables from the unit easily just like on the older models.
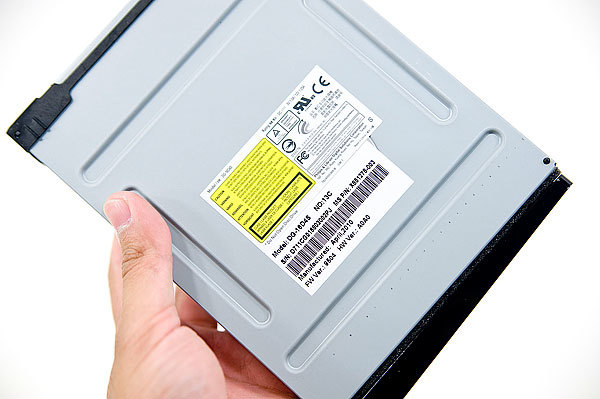
This is a newer version of the Lite-On drive found in the newer Jasper Xbox 360s. They use the DG-16D2S while the Valhalla uses the new DG16-D4S.
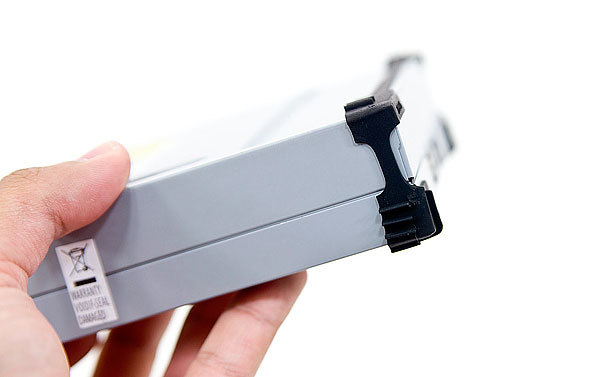
Microsoft also outfitted the drive with a strip of rubber to help dampen vibration:
You can also remove the CGPU heatsink fan shroud at this point, it is a snug fit but it should lift straight off:
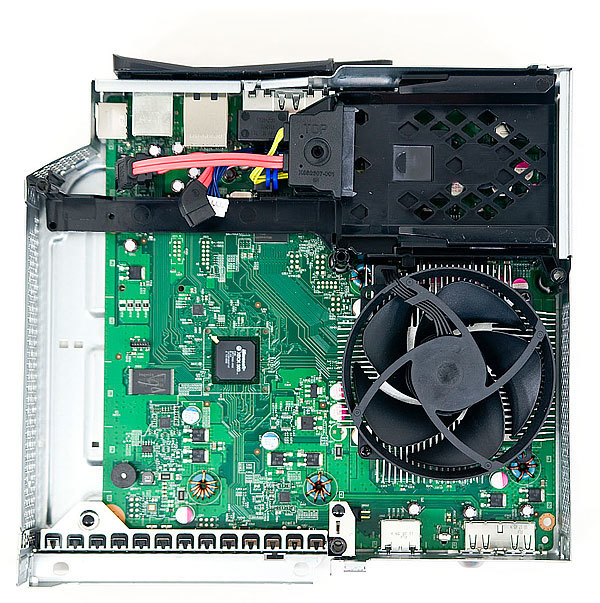
The piece of aluminum shielding in the lower left of the picture above lifts straight out, you can remove that if you want to pull out the motherboard.
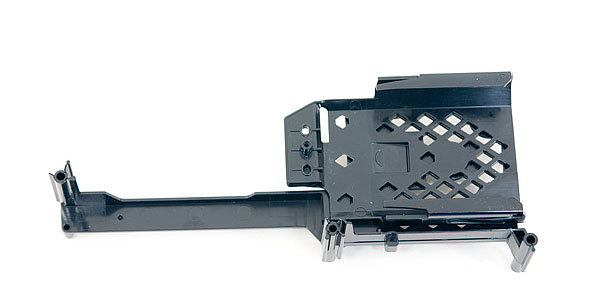
The black piece of plastic in the upper right hand corner of the picture above is the HDD carrier. It’s actually mounted on a flexible mount to allow for some vibration dampening and shock resistance. There’s a single large T8 screw holding it in place, remove this screw.
The drive tray isn’t completely free yet, there’s one more T8 screw at the back of the Xbox 360 that has to be removed. It was hidden by the casing but with that off you can now access it. Remove that screw and the drive tray is free:
The Motherboard
Two phillips screws hold the fan in place. You don’t need to remove them to remove the heatsink but I did anyway:
The single large heatsink is a lot heftier than what we’d seen in previous 360s, it doesn’t feel quite as cheap or as insufficient. This time around it has to do double duty cooling both the CPU and the GPU.
At this point I can easily remove the motherboard and flip it over, revealing our old friend: the x-clamp.

Place your flathead screwdriver tip here, pointing away from the xclamp, and pry the clamp off at this point. Repeat for 1 - 2 more and the whole thing should come off easily.
Unlike previous Xbox 360s, the Valhalla x-clamp isn’t a pain to remove. In fact all I had to do was slide a small flathead screwdriver in each of the four slots in the clamp and push down to make the clamp pop out. I’ve marked the area on the photo above.
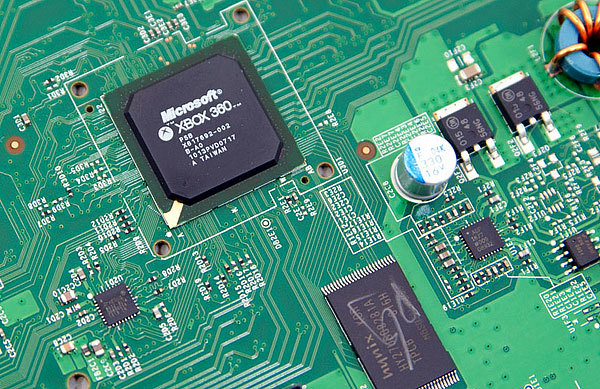
With the x-clamp removed the heatsink pulls off revealing Microsoft’s Xbox 360 CGPU covered with a heat spreader. The heat spreader is great for making sure no one cracks a core while working on these things.

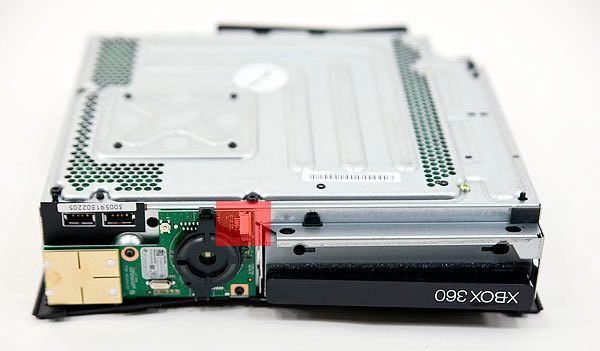
The chip to the left of the CGPU is the 360’s South Bridge, responsible for the SATA and USB ports in the system. The chip is marked as an A0 stepping which is usually the first stepping to come back from the fab. This is probably a pretty tried and true design by now with no bugs to worry about at this point.
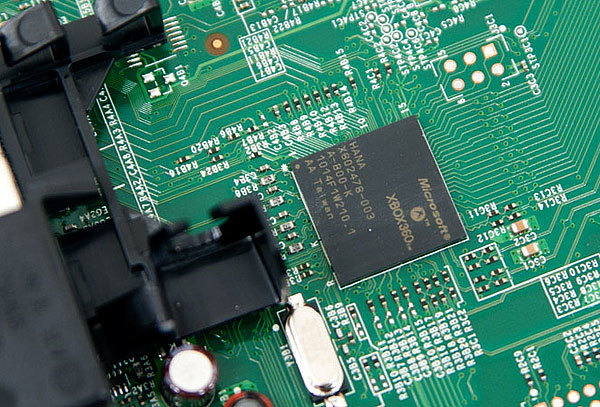
Xbox 360 South Bridge (top), 16MB SLC NAND (bottom)
The Hynix NAND on the motherboard is still 16MB in size. It is SLC NAND so it should last the lifetime of the Xbox as long as you don’t somehow mod it into a database server.
The third major ASIC on the motherboard is the HANA scaler/video encoder chip we’ve seen before on Jasper.
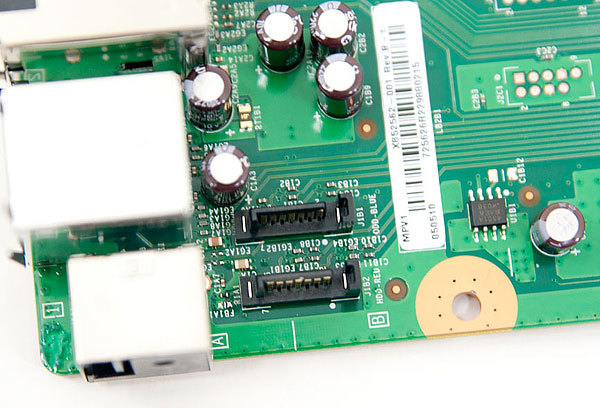
The motherboard now has two SATA ports directly on the board itself to support the new HDD tray.
Final Words
Microsoft, Nintendo and Sony are all trying to change the rules of the game for the next generation of consoles. Five years ago we were eagerly awaiting the arrival of the Xbox 360 and today we are still left without a replacement. Microsoft and Sony want to push the current cycle of consoles through 2012 in order to recover investment dollars. Thankfully despite the age of these consoles, the quality of titles only seems to be improving.
The Xbox 360 slim is often referred to as what the first 360 should have been. It is smaller, quieter and hopefully much more reliable than what Microsoft first shipped five years ago. If it is indeed using 40nm components from TSMC I wouldn’t expect a quick ramp. It may be that the slim remains at the $299 price point for a while until Microsoft can get enough silicon back to bring it to lower price points. Update: It looks like the CGPU is made at Chartered, now Global Foundries at 45nm. We may see a quicker ramp than I first assumed as a result.
Coupled with Kinect and some exciting titles due out later this year and next (not to mention the 360’s media streaming capabilities), there should be enough life in the 360 to make an investment in the new box today worthwhile.
That being said, I really do hope that we see just as many eager game developers take advantage of the tremendous increase in CPU and GPU horsepower we’ve been given over the past five years. When the 360’s CPU was first announced no desktop CPU could manage 6 threads, today we can have twice that paired with over 12 times the amount of cache on the 360’s CPU. Today’s GPUs are similarly impressive and are going to be even more affordable this year, and faster next.
Just as the high end grows more powerful, so will mobile gaming devices. We are not that far away from having the power of an Xbox 360 in a smartphone. An in-order triple core CPU should be doable in an SoC within 4 years, and the GPU within a similar amount of time. And there are companies working on both. Eventually the 360’s library may be the “arcade classic” titles you’ll be playing on your smartphone.
Sweet.
All credit to Anandtech for a fully comprehensive tutorial.