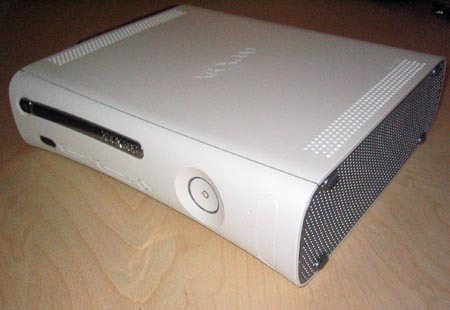
How to open your xbox 360 console
Required Tools
- Three torx screw drivers in the following sizes: T6, T7 and T12
- One small flat head screw driver or small and thin wedge
- A 2 inch long and thin (roughly 1.5mm thick) metal stick
- A 2 inch long and flat (less than 1mm thick) plastic or metal stick
- A pair of thin pliers
With those tools in hand, we’re ready to disassemble the Xbox 360.
Removing The Outer Shell
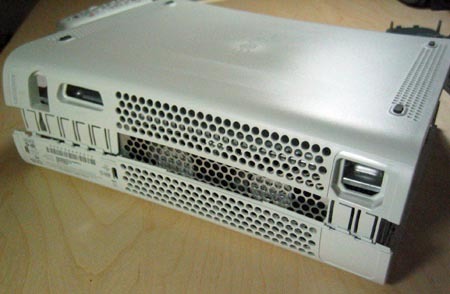
The first step is to remove the outer plastic shell that conceals the innards of the system. To do this, you must start by removing the face plate. Take a look at the front of the Xbox 360 and insert your thumb into the door that covers the two USB ports on the right of the unit. With your other hand squeezing the upper and lower sides of the face plate, pull out the face plate with your thumb. With not much force, the face plate should pop right off.

After the face plate has been pulled off you will see a silver Microsoft sticker covering a gap; remove this. You will also see four small clips locking the top half of the plastic shell to the bottom half. Do not attempt to wedge the clips out at this point.
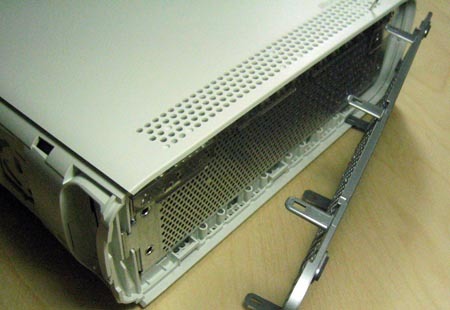
With some care, gently bend outwards, the right gray ventilation shield on the right side of the unit so that you can see a bit inside. You will notice that the gray side piece attaches to both the bottom and top white chassis. Now look through the holes on top of the unit to locate the areas where the gray side pieces attaches to the white body. What you need to do is take the long but thin metal stick and push down, through the white holes (located on both the top and bottom of the Xbox 360) where the clips of the gray side pieces connect. Slowly pull out the gray pieces away from the unit while unlocking the clips and eventually the gray piece will release itself.
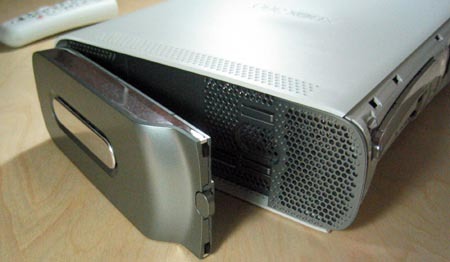
To remove the left gray piece, you must first remove the hard drive unit by pressing the button located on the unit itself. Then apply the same procedure used to remove the right gray ventilation piece – except when you reach the bottom clip of the piece, you most remove the rubber feet located directly below, to reveal a hole where you can insert the metal stick.
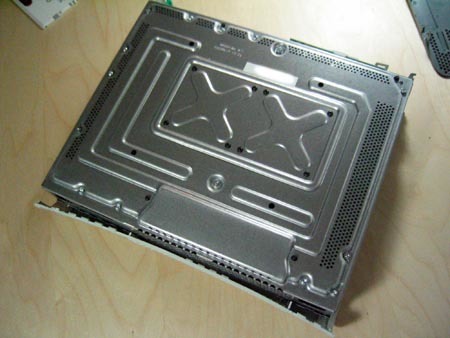
Once you have both side gray pieces removed, you have essentially removed the main locking mechanism that holds the top and bottom shells together. At this point, return to the front of the unit and turn the entire unit upside down. Using a flat head screw driver or wedge, gently pry up the 4 clips holding the top shell to the bottom. Once the clips are unlatched, slowly lift up the front of the bottom shell about an inch.
The last step to removing the bottom shell cover is to insert a thin and small plastic stick into the thin rectangular holes on the rear. The reason the front of the bottom shell needs to be lifted is to prevent the rear latches from reattaching themselves. Slowly insert the stick into each rectangular opening. You should hear a click sound for each clamp you unlatch. Once complete, you may lift off the bottom shell covering.
Looking inside the unit, you will notice that there are 14 silver screws (6 of which are long) and 8 black screws. Using your torx screw drivers, remove the silver screws using a size T12 screw driver and the black ones using a size T7. Once you have all the screws removed, flip the Xbox 360 right side up and lift up the top plastic shell. You should now be greeted with the internals of the Xbox 360.
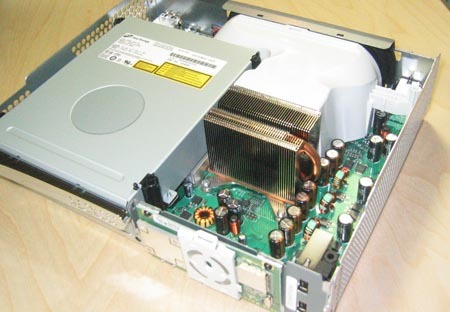
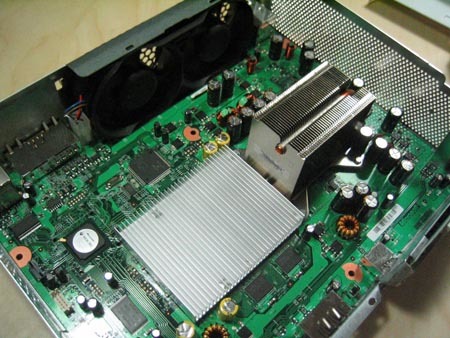
How to take apart the inside of an xbox to get to the motherboard etc:
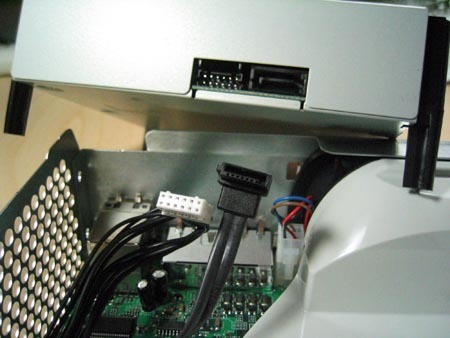
To continue further, you will need to first remove the DVD drive. Simply hold the drive and lift up. You will notice that the Xbox 360’s DVD drive uses a Serial ATA interface which keeps things very tidy compared to the original Xbox. At this point, remove both the power supply cable and Serial ATA cable from the DVD drive and then from the motherboard.
The fan shroud can now be removed by simply twisting the cover until it pops off. The shroud is held in place by one clamp that attaches to the actual fans. Just be careful at this point not to break the clamp.
Next, remove the RF unit at the front of the Xbox 360 by removing the small black torx screws using a T6 screwdriver. Then you must remove the plastic cover on the front of the RF unit by unlatching the top and bottom of the plastic cover. Once you have done this, you will reveal the third screw holding the RF unit to the chassis. Remove the last screw and pull out the RF unit. Lastly, remove the power connections for the fans. You can now lift the motherboard out of the metal chassis.

How to perform a 12v fan mod on your xbox360 console
Tools/Parts Needed:
- Wire cutters
- Wire strippers
- Soldering iron
- A piece of wire
- Black tape or a Wire connector
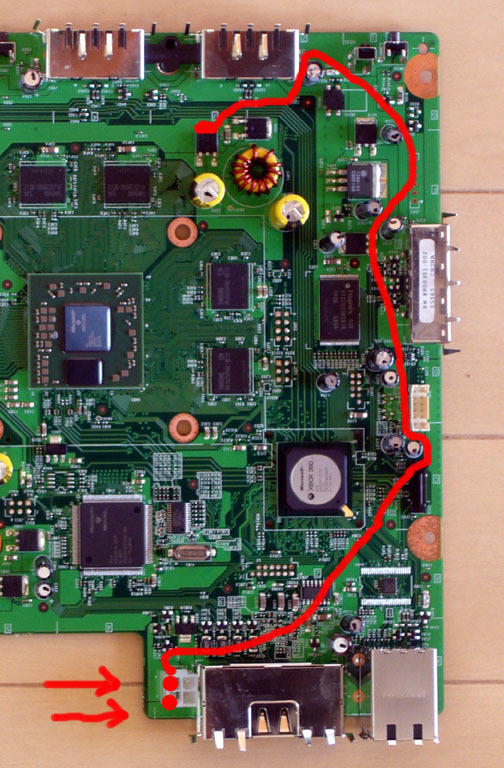
First of all you will need to open up your xbox 360. Once you have the 360 taken apart you will need to locate the fan plug. When you are looking at the front of the 360 the fan plug is just to the left of the fan. Once you find it it will be easiest if you unplug the fan and take it out of the metal case. Now that you have it out of the case take a look at the plug. You will notice that it has 4 wires. The only wires we are worried about for this mod are the red wire and the orange wire. These are the positive wires for the fan. So grab your wire cutters cut those 2 wires off as close to the plug as you can. Once you have them cut strip the ends to expose about 1/2 inch of wire. Now that both ends are exposed, twist red and orange wires together. Now you will need to get your piece of wire out to cut it to length. I normally use one of the wires from an old Ethernet cable. Now that you have your wire ready to cut run just like the red line in the picture below and cut it about 2 inches longer on each end to make sure you have enough.
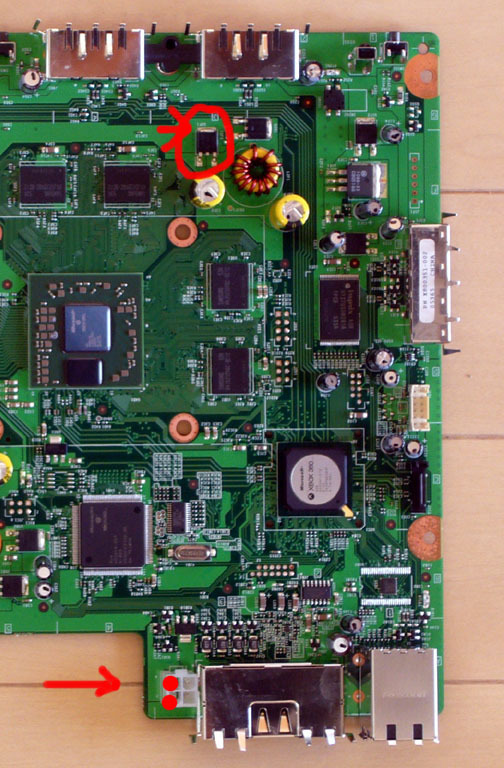
Ok now that you have the wire cut, on the end closest to the fan plug strip a half an inch off and connect it to the red and orange wires from the fan, either with your wire connector or twist them together and wrap it with black tape. Now that you have finished that we are done with this end so you can put the fan back in place and plug it in. Now you can plug in the soldering iron and get it heating up. Now at the other end of the wire strip it back a quarter of an inch and refer to the picture below. On the long flat side where the arrow is pointing you, you will need to scrape it a little to remove the varnish they put over it. Make sure to lightly scrape the shinny metal and dont touch the motherboard with whatever you use to scrape it.
Once you have it clean just tin the end of your wire with a little solder and solder it to the side you just scraped off. Now that you have it soldered on you can put a piece of black tape over it for protection but you dont need to. Give the wire a little tug to make sure it is soldered good. If it doesn’t come off then you are all done with the mod, so plug your 360 in and turn it on to make sure the fan works and if it does you can put your 360 back together.
These tutorials were not made by me. Just reworded some places and posted 

