In this tutorial I will be trying to help any one out on making a dual window mod. I leave out some parts intentionally in order to make your result look like it was made by you.
Requirements:
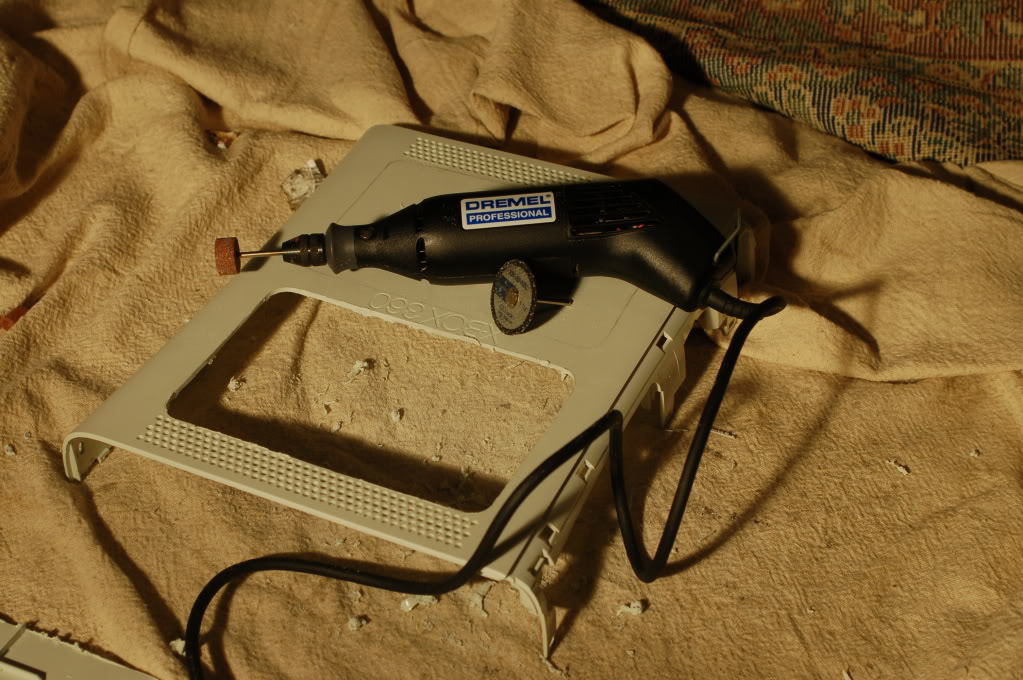
Dremel
Xbox 360
Soldering Iron/Gun
LED Storm v2
Talismoon Whisper Fan
Hexcorp Clear Wind tunnel
T10 Torx Screw Driver (Not really need, just need a screwdriver with a star like head)
Double Sided Foam Tape
RF Module
Step 1: Taking apart your 360.

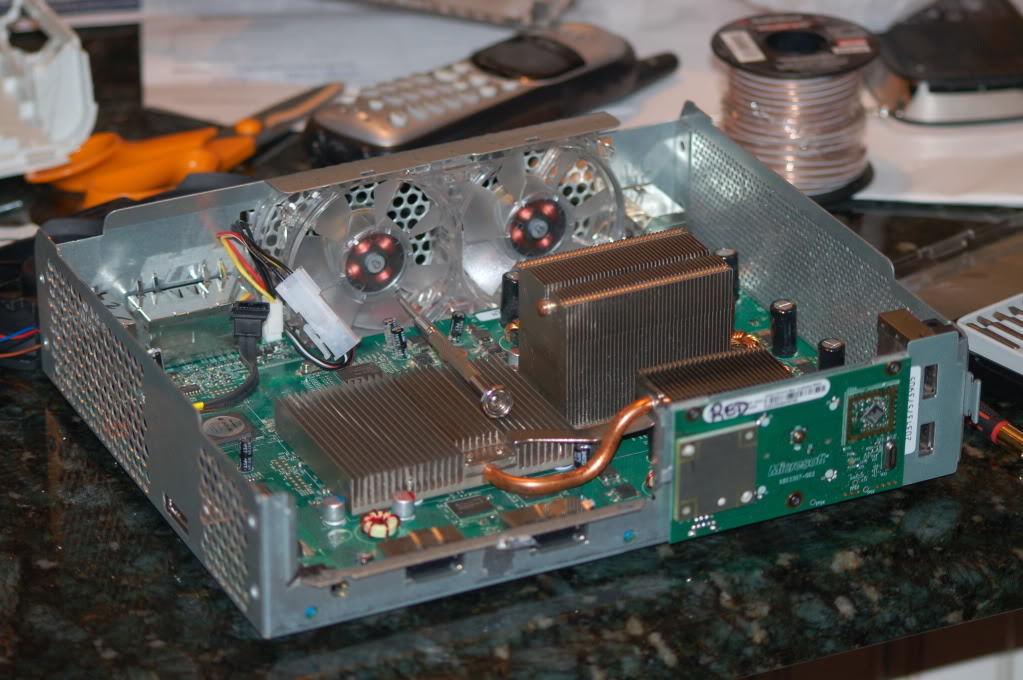
Step 2: Take Out and Replace
Simply enough, unplug your dvd drive (there are 2 cables that plug into the back of it). Take the dvd drive out, then take out the White wind tunnel. Too remove the fan, wedge 2 screwdrivers between the top of the fan and below the metal over hang and lfit up to release the fan. Then unplug the fan. Also for the rf module, unscrew the 3 screws on the face plate data chip located in the top right and top left and then in the bottom middle. Plug in your new modified rf module and screw it back in.
(I plugged my new fan in, ignore that)
Step 3: Test it out and place it where you want it.
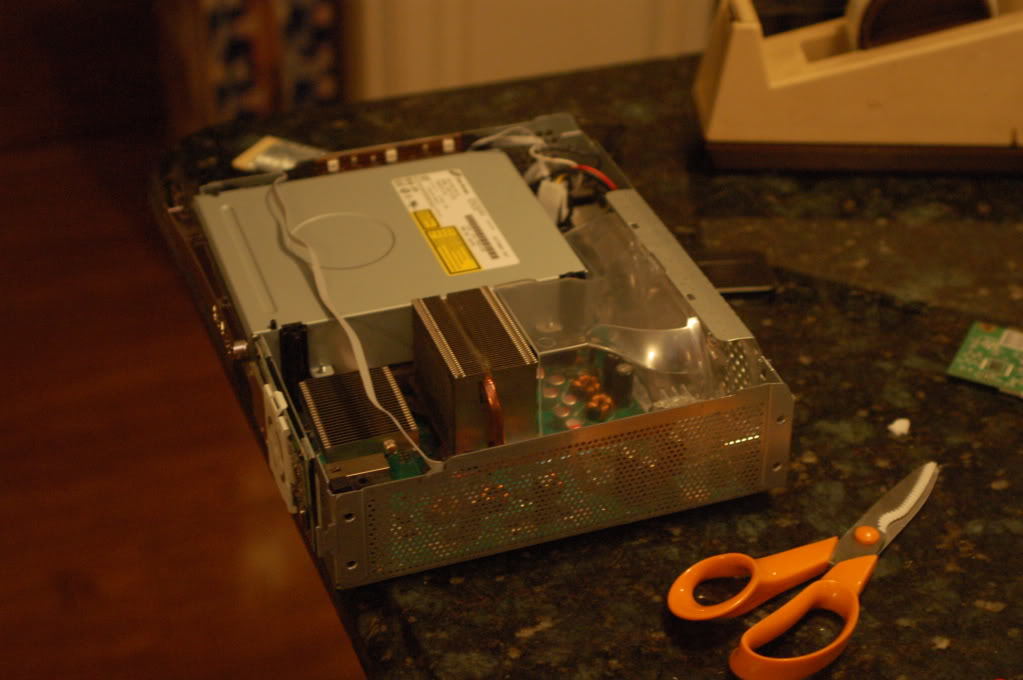
Take the talismoon whisper fan, plug it in and wedge it into the slot where the original fan was. The Led storm v2 comes with a replace dvd drive cable, plug that into the dvd drive and the slot on the 360 and now the led storm is powered. test it out now.
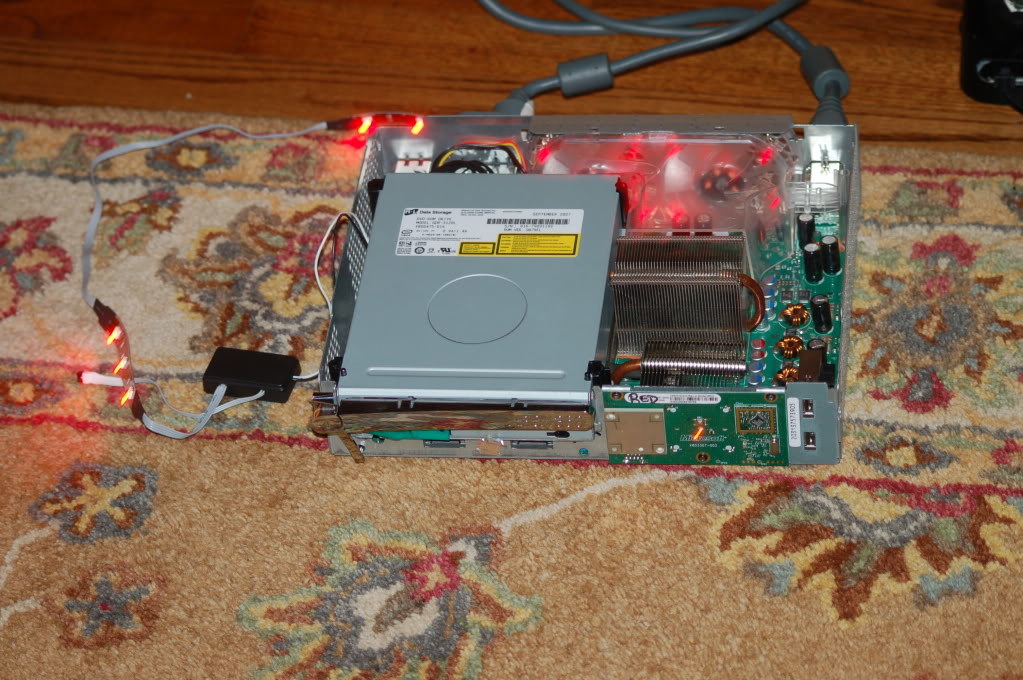
Now put it all together. The wind tunnel needs to go in first before you lay the dvd drive in. (be careful of the piece you would push to eject the drive, it gets in the way a lot!!) Then take the led storm and the short side goes on the side closest to the dvd drive. the last strip of leds goes on the other side. Remove the paper on the back of each led strip( you will see a bronze side) then stick it onto the side of the xbox like so.
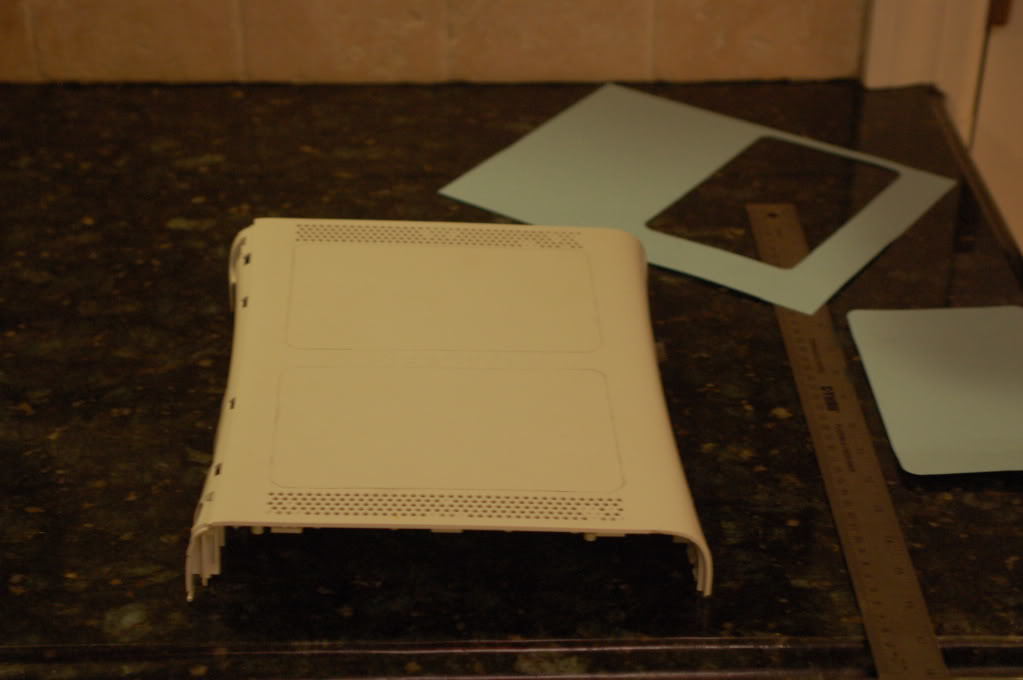
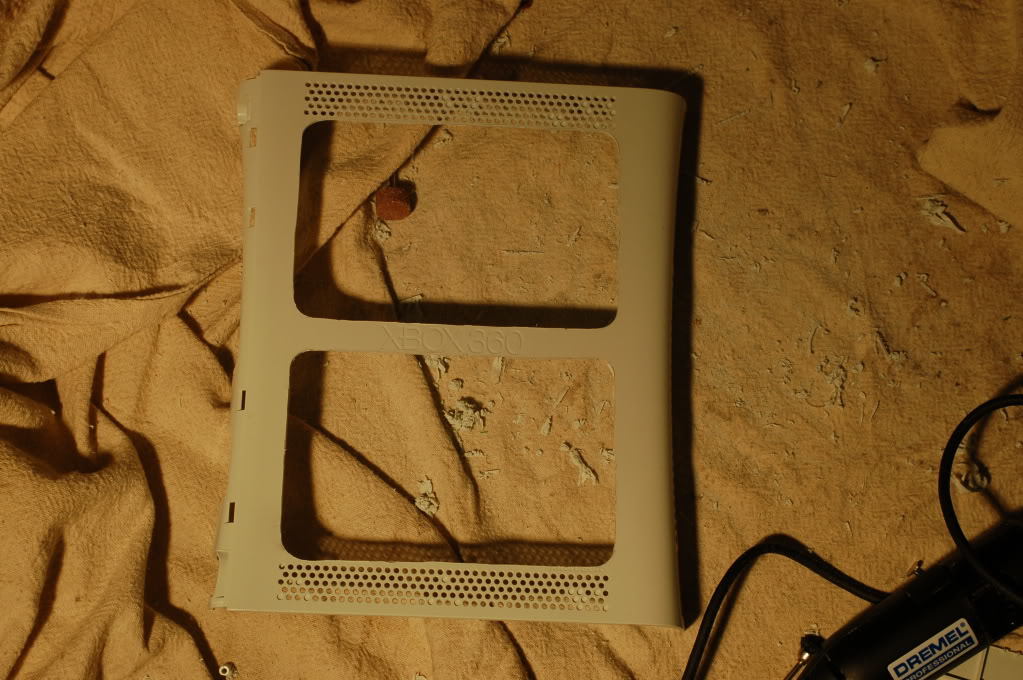
Step 4: Measuring and Cutting.
Measure the width of the dots on bottom and top of the xbox casing. (they are air vents, like mesh but I call them dots) Then measure the space between the xbox 360 imprint in the middle to the top of the dots. You may want to take some cm’s off to not lose the integrity of the plastic. Draw a rectangle with the measurements and use a circle stencil to draw rounded edges on each corner.( a stocky paper, nothing flimsy) Cut out this rounded rectangle and out line it on the xbox on top and bottom of the Xbox 360 imprinted logo.
Here is the stencil on the right hand side and the outline on the xbox casing.
Step 4.5: Cutting
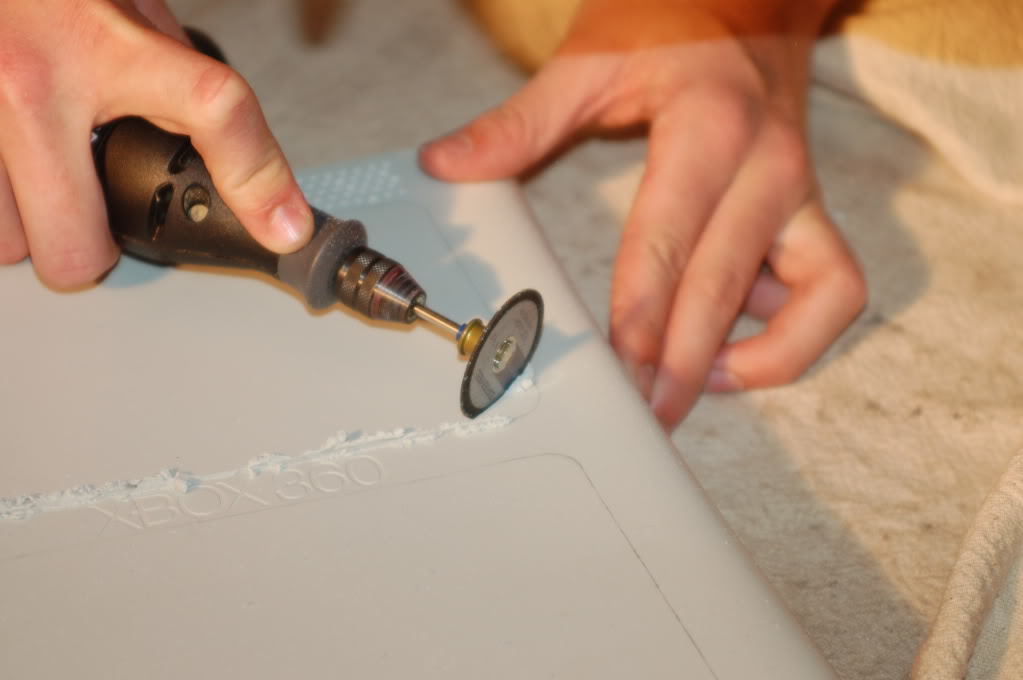
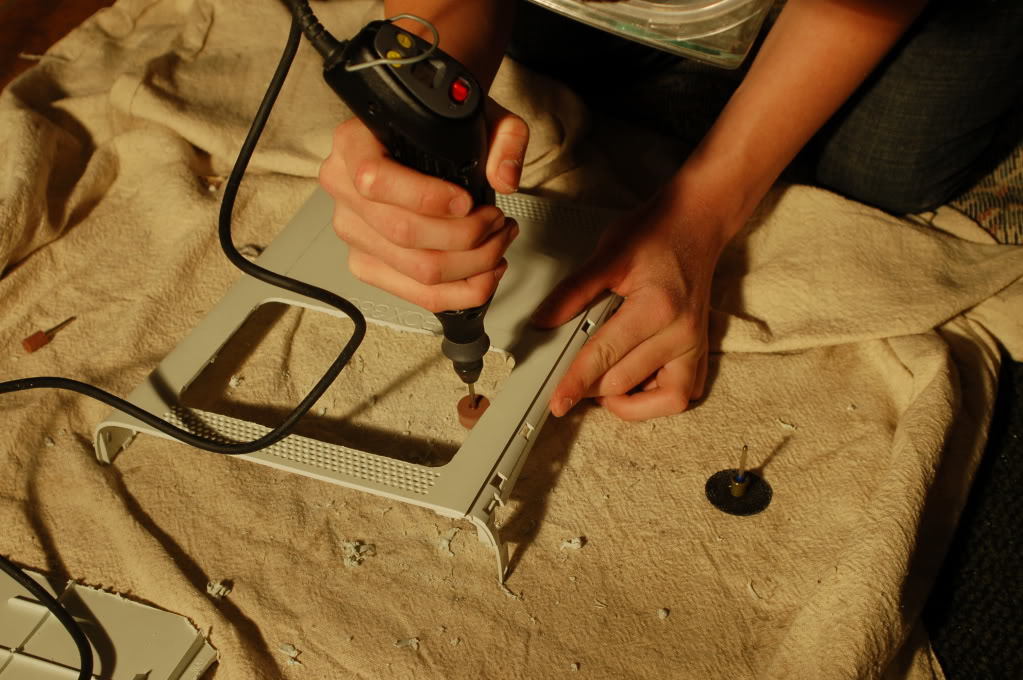
Use the dremel, preferably with a plastic cutting bit. Cut the straight parts and skip over the rounded edges like so,
remember ignore the rounded edges and skip over them like so
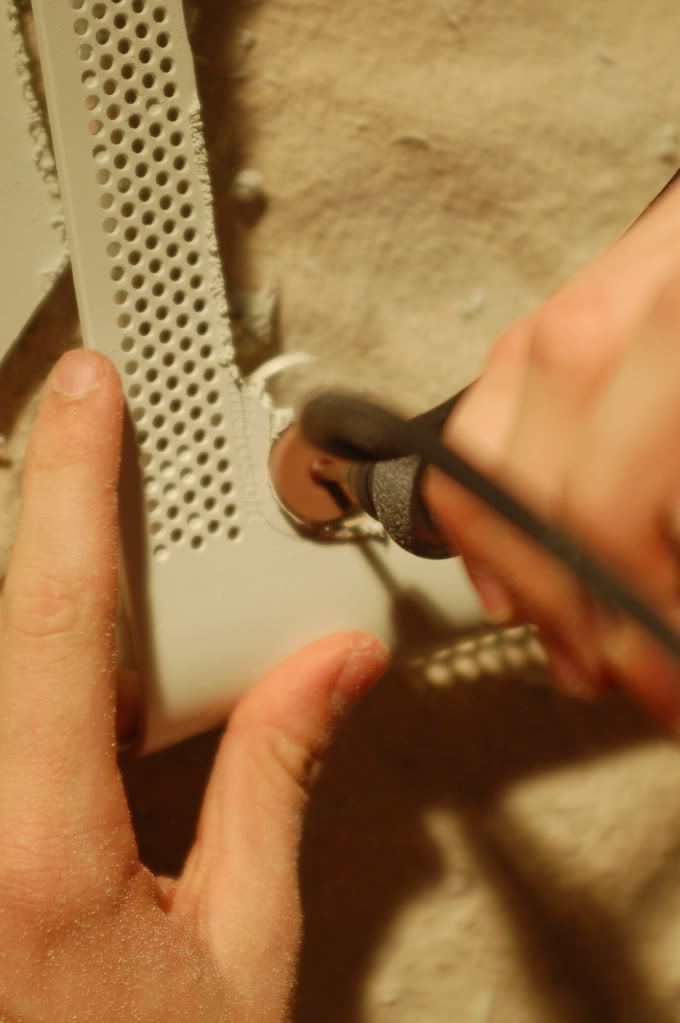
When you pop out this shape, you are left with little triangles in each corner. Use a sanding bit to sand in and create that perfect rounded corner
(sanding part picturized)
Repeat this process for the other window and ta da there are your windows.
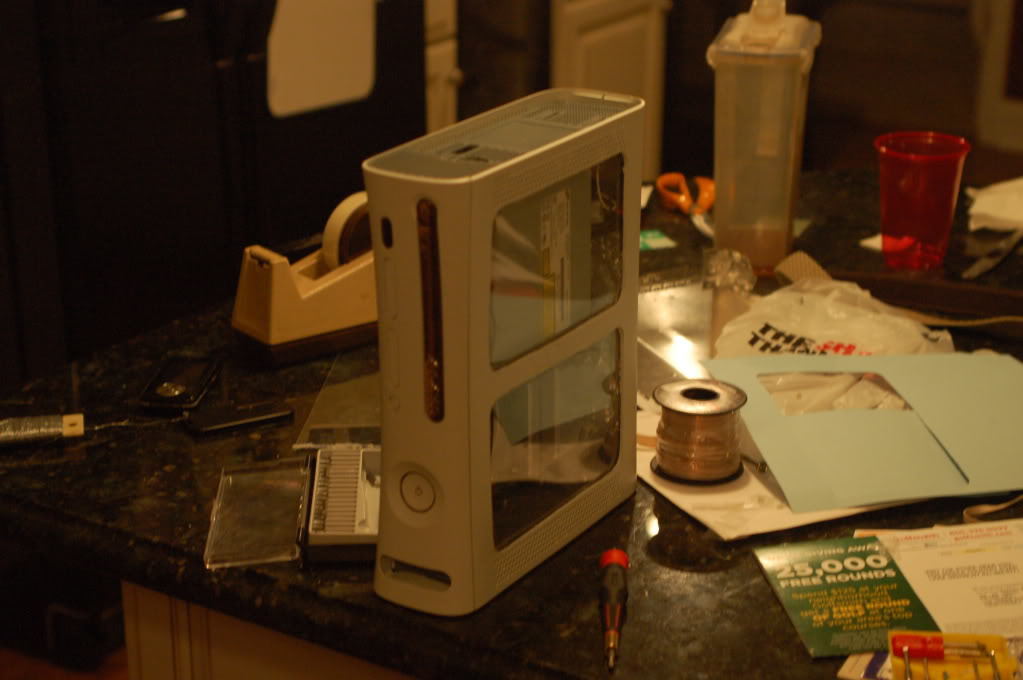
Step 5: Plexi Glass/Plastic/Acryllic laying.
This part is hard. Flip over the xbox 360 case and try to cut off the screw hole receivers so you can get a flat rectangular shape in order to be able to lay in the PG/P/A. This part can be skipped but eh, doesnt look so good. Then you can cut of the corners in order to fit it.
Now lay the tape in every corner and one piece in the middle piece of plastic, its the part with the xbox 360 on it and then lay your PG/P/A on top and push in every spot with the tape.
Step 6: Put it back together.
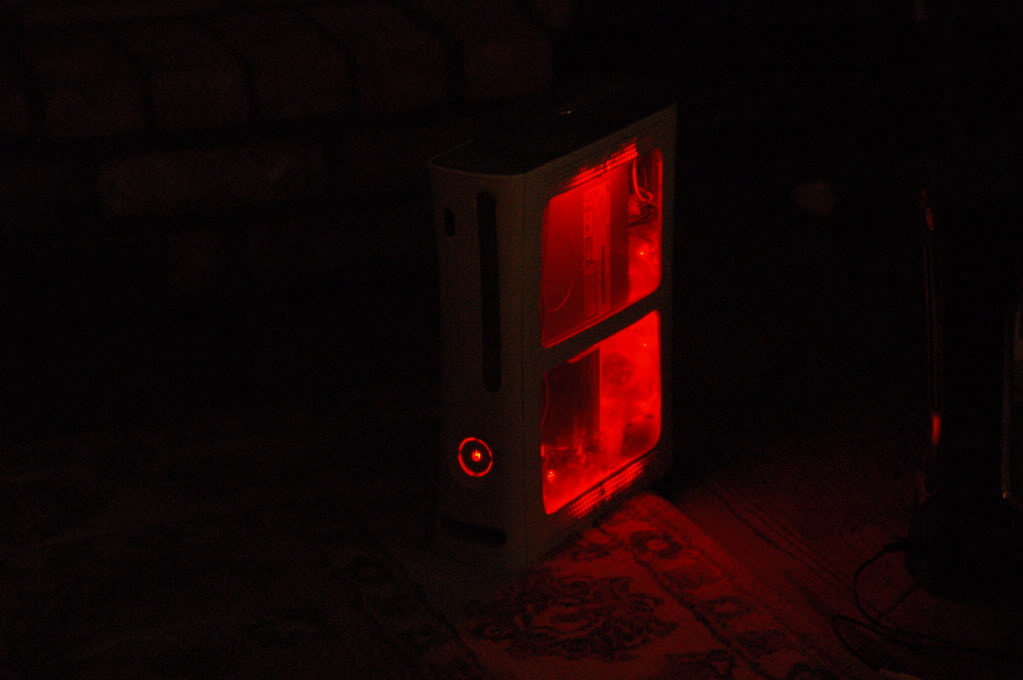
Step 7: Now plug it in!
Plug it in and enjoy, the smart led storm comes with a remote to change the colors!
Rewind the process of taking the xbox apart, and put everything back together!
If you have any questions, please post here. I will be glad to post the measurements of the Rounded rectangle if you don’t get it!


